Sunday, October 28, 2012

Bacon and Garlic Brussels Sprouts- You Won't Regret Making These

I'll be lucky if anyone is actually reading this post, because brussels sprouts have a bad reputation.  I tried them for the first time just a few weeks ago, and before that I was pretty afraid of them.  My mom never made us brussels sprouts growing up, and as far as I can remember the only time I ever encountered them was in the elementary school cafeteria where I though they resembled little alien brains.

So, I'm sure you're thinking "If you thought brussels sprouts resembled little alien brains, what in the world made you decide to try them?"  Well my friends, they are so cute and tiny and I figured that everything deserves to be tried once, so I bought a bag from the frozen vegetables aisle at the grocery store on a whim and decided I'd give them a shot.  And let me tell you, I'm glad I did.  Vegetables are all about how you prepare them.  I'm sure if you just steam some brussels sprouts and throw them on a plate, they aren't going to taste very good.  However, brussels sprouts are basically miniature heads of cabbage so they absorb flavor very well and it's really easy to add a ton and make these little tiny "alien brains" taste delicious.

Have I convinced you to give them a shot yet?

Brussels Sprouts  

What you need:
Brussels Sprouts (fresh or frozen)
4-5 slices bacon
1 shallot
3 cloves garlic

What you do:
Slice bacon into bite size pieces, chop the garlic and dice the shallot.  Cook the bacon in medium pan, add the shallots and garlic then the bacon is about halfway done.  Once you can begin to smell the garlic add the brussels sprouts.  Sautee the brussels sprouts until they are tender.  I cook the brussels sprouts whole, but in the future I will slice them in half length wise to let more flavor seep into sprouts.


Sunday, October 14, 2012

Chiles Rellenos

I may have said this before, but I do believe deep down inside I am a little tiny bit Mexican.  Nevermind that there's not a drop of anything but European blood in me.  That doesn't matter.  I love Mexican food, and I could eat it every single day and not get tired of it.  Lucky for me, I work with several people who were either born in Mexico, or whose parents were born in Mexico.  I'm always asking them for recipes and tips and tricks to make my dishes better.  This is one of those recipes, so you know that it's authentic and delicious.  It takes a little while to make so I don't think this will be a regular week night meal for us, but it's perfect for a lazy weekend dinner.  Besides, you can indulge yourself in margaritas on the weekends.  And believe me, you're going to want a margarita or three.  It's the weekend, no one's judging!

Chiles Rellenos with Habenera Sauce

What you need:

Chiles Rellenos
4 Anaheim peppers
Mozzarella cheese
2 eggs
Flour
Oil for frying
Thin cut sirloin steak
Onion (sliced)
Cumin
Steak seasoning
Salt and Pepper

Habanera Sauce
1 tomato
1 onion
3-4 cloves garlic
2 jalapeno peppers
2 habanero peppers
15 oz can tomato sauce
Salt (to taste)

What you do:


Place the tomato, onion (peeled and cut into quarters), peeled garlic cloves, habanero peppers, jalapeno peppers, and anaheims on a cookie sheet.  Broil them until they skin is nice and brown and kind of peeling away from the flesh.  I turn the peppers over once to make sure they get browned on both sides.


As soon as you take them out of the oven put the anaheim peppers into a large ziploc bag, close it and cover them with a warm towel.  You will let them sit for at least 10 minutes.  


In the meantime take your onion, tomato, garlic, jalapenos and habaneros and put them all in a blender along with the tomato sauce.  Blend until mostly smooth.  When you take the lid off the blender do not, I repeat DO NOT, stick your nose in their to smell it.  You will regret it immediately.  I am speaking from personal experience.  


This is what the sauce should look like.  It's pretty spicy, so if you like spicy food 2 habanero peppers is perfect.  If you don't like spicy food so much I would suggest 1 habanero and maybe adding more tomato sauce to mellow out the spiciness.  Put the sauce into a small pan and keep it on the stove over low heat (just enough to keep it warm).  


Now, take those anaheims out of the ziploc bag and peel the skin off.  It should come over really easy now that we've let them steam in the bag.  


After you've peeled them all, make a small slit down the middle and stuff them with the mozzarella.  Put enough cheese in there to fill up the body of the pepper, but not so much that you can't kind of pull one side of the pepper over the other so the cheese is mostly covered by the pepper.


Now, whisk the two eggs with a 1 or 2 tablespoons of water and season some flour with a little bit of salt and pepper.  Dip the stuffed peppers into the egg wash, then roll them in the flour.  Accept that fact that your hands will get incredibly messy now.    


While your oil is heating up to fry the chiles, cube up the steak and season with cumin, steak seasoning, salt and pepper.  Cook in a large frying pan with the sliced onion.  Now all you need to do is fry the peppers.  It will take several minutes on each side to make the chiles all nice and crispy and golden brown.


Serve with Mexican rice and refried beans.  I swear, one day soon I will show you the recipe for homemade refried beans. Seriously, the easiest thing you will ever make.  You'll never want to buy the canned stuff again.

Monday, October 8, 2012

Easy Breakfast Burritos

There is something about fall and winter that makes me crave breakfast.  For most of the year I'm not a huge breakfast fan.  I'll have some fruit or a quick smoothie, but I rarely wake up in the middle of July and say "Mmm... I really want a big breakfast this morning."  In the fall and winter though, when it's colder, I start craving a big traditional breakfast.  Eggs, bacon, sausage, pancakes, waffles.  It's all good to me.

Several weeks ago was the first day of the college football season.  And in case you didn't know, Cole probably loves college football even more than he loves me.  And if not, it's a very close second.  Don't believe me?  Go check out his college blog here and then come back.  Don't worry, I'll wait.

Okay welcome back.  Anyway, since we were up early to watch all 3 hours of College Gameday I thought I might as well make us breakfast.  I knew I needed to make something that Cole could eat with one hand so he could still write down all the picks, and I knew it needed to be delicious because, well, who wants to eat something that tastes like crap?  Not me.  So I decided on breakfast burritos.  The best part about this recipe?  It is delicious.  The second best part about this recipe?  It makes A TON and you can freeze them individually so you can grab one running out the door to work during the week.  Also, this recipe is more of a method.  You can put whatever you want in there.  For mine, I like to go heavy on the "extras" but that's because I don't like eggs too much.  Yes, I know that I'm weird.  I've accepted that.

Breakfast Burritos


What you need:
Eggs
Potatoes
Bacon
Sausage

What you do:
Cook the sausage, and set it aside in a large bowl.  Cook the bacon and cut it up into small/medium sized pieces and put in the bowl with the sausage.  Drain off most of the bacon grease, but leave just a little bit in there for the potatoes.  Cube up several potatoes, season with salt, pepper and garlic powder.  Cook the potatoes in the bacon grease until they are nice and soft and slightly crispy on the outside.  Add the potatoes to the bowl with the bacon and sausage and mix everything together.  Scramble the eggs.     


Then you just put some eggs in a big burrito style tortilla, add some of the filling, top with a little bit of salsa if you want, roll up the burrito and enjoy.   

Just as an example; for my burritos I used 9 eggs, 5 medium sized potatoes, 2/3 lb sausage and 2/3 package bacon and I made 10 burritos.  It should have made 12 but I made two really, really big ones at first on accident.


And like I said before, you can freeze the leftover burritos.  Just wrap them individually in saran wrap and put them all in a ziploc freezer bag.  You can pull them out and microwave them individually. 


Monday, October 1, 2012

Mini Mondays Fall Edition: Pumpkin Bread

Fall is my favorite time of year.  Cool weather, sweaters, boots, football, apples and pumpkin everything: pumpkin pasta, pumpkin candles, pumpkin bread, pumpkin spice lattes. I love it all.  

This is just for the lolz.  


The thought of fall is the only thing that gets me through the miserable summer months in Texas.  Even though in Texas fall really means 80 degree weather, which is still hot to really be fall, it's still better than 100 plus degrees every day so I'll take what I can get.  So in honor of the first Mini Monday of Fall, I present to you mini pumpkin muffins. 


Mini Pumpkin Muffins


What you need:

Pumpkin Muffins
2/3 cup canned pumpkin
1 egg
1/3 cup vegetable oil
1/4 cup water
1 cup sugar
1 1/4 cup flour
3/4 tsp baking soda
1/2 tsp salt
1/4 tsp cinnamon
1/4 tsp ground nutmeg
1/8 tsp ground cloves
1/8 tsp ground ginger
Mini bundt pan (If you don't have one you can use a muffin pan, they just won't look like little pumpkins when they're done.)
Caramel

Cream Cheese Glaze
4 oz cream cheese
2 T honey
2 T milk

What you do:


Mix together the wet ingredients: pumpkin, vegetable oil, water and sugar.  


Add in the dry ingredients and mix well.  Fill the mini bundt pans about 2/3 of the way full.  Bake at 350* for 15 minutes. 


They should look like this when they're done.  These are totally adorable, and delicious just as they are. However, we are about to bump the adorableness up to an extreme level.  Just sayin'.  


So, let the muffins cool (I let mine cool overnight, but a couple hours should be fine).  Slice the rounded top off each muffin.  Make the cream cheese glaze by mixing together the cream cheese, milk and honey.  Stir in some red and yellow food coloring to make it orange.  Put the flat sides of each muffin together so that they look like little tiny, tiny pumpkins.  Take some caramel and form them into little stems and leaves.  Drizzle some of the glaze on the top of each little pumpkin, then put a stem and two leaves on top of each.     


I use this recipe to make pumpkin bread ALL the time (just bake it for 50 minutes if you're making a loaf instead of mufins) and it's always a big hit.  Usually I double it and eat one loaf right away and slice up the other one and freeze each piece individually.  I don't generally make any type of glaze or icing either, and it tastes just as delicious without it.  I hope you that when you make these you enjoy them as much as I did.    

Happy Fall Y'all! 


Sunday, September 23, 2012

Chicken and Dumplings

Well, school has been in session for about a month now which means, of course, that all those little germs that your kids are bringing back from school are now making their way into your body and chances are you're feeling pretty crummy right about now.  And even if you don't have any kids (like me) you're still getting exposed to all those lovely little germies from all your coworkers who do have kids.  Basically, if you don't have "the crud" right now, you'll probably be getting it.  Sorry to be the bearer of bad news.

Cole and I are both not feeling great this weekend, so I decided some comfort food was in order.  If you've never had chicken and dumplings, the dumplings are basically poached biscuits in chicken noodle soup (minus the noddles).  I don't really understand how they end up getting cooked, but they do and that's all I really care about.  My mom used to make this for us in the winter growing up.  We lived in Idaho so we had a real winter, and there was nothing better than sitting down at the table with a nice steaming bowl of chicken and dumplings after playing outside in the snow all day.  She would make extra dumplings so I could take them to school for lunch the next day in a big thermos.  Let me tell you, all my friends with pb&j or bologna sandwiches were totally jealous of my lunches on chicken and dumplings days.  This recipe is just like my momma made it, and it was just as delicious as I remembered it.


Chicken and Dumplings


What you need:
4 chicken thighs (or a whole chicken, cut up; or whatever kind of chicken you prefer.  Bone in meat is preferable)
4 cups chicken stock
1-2 cups water
Celery (about 2 cups chopped)
5 medium/large carrots, chopped
1 white onion, chopped
4-5 cloves garlic, chopped
5 tsp thyme
2 tsp garlic powder
salt and pepper to taste
1 cup bisquick
1/3 cup milk

What you do:


Chop up all your vegetables and put them in a large pot with a little bit of olive oil.  Cook the vegetables over medium high heat until you can smell the garlic and the vegetables have softened up a bit.  Meanwhile, season the chicken with 2 tsp thyme (approx.), garlic powder and salt and pepper.   


Put the chicken on top of the vegetables in the pot.  Add your chicken stock and water until the chicken is covered.  You may need to add extra water.  Add the remaining 3 tsp of thyme and cover the pot. 


Let the chicken simmer with the vegetables for as long as you want (at least 30 minutes).  The longer everything simmers together the better, in my opinion.  Keep an eye on it though, you may need to add some more water periodically if it looks like it's getting to low.  


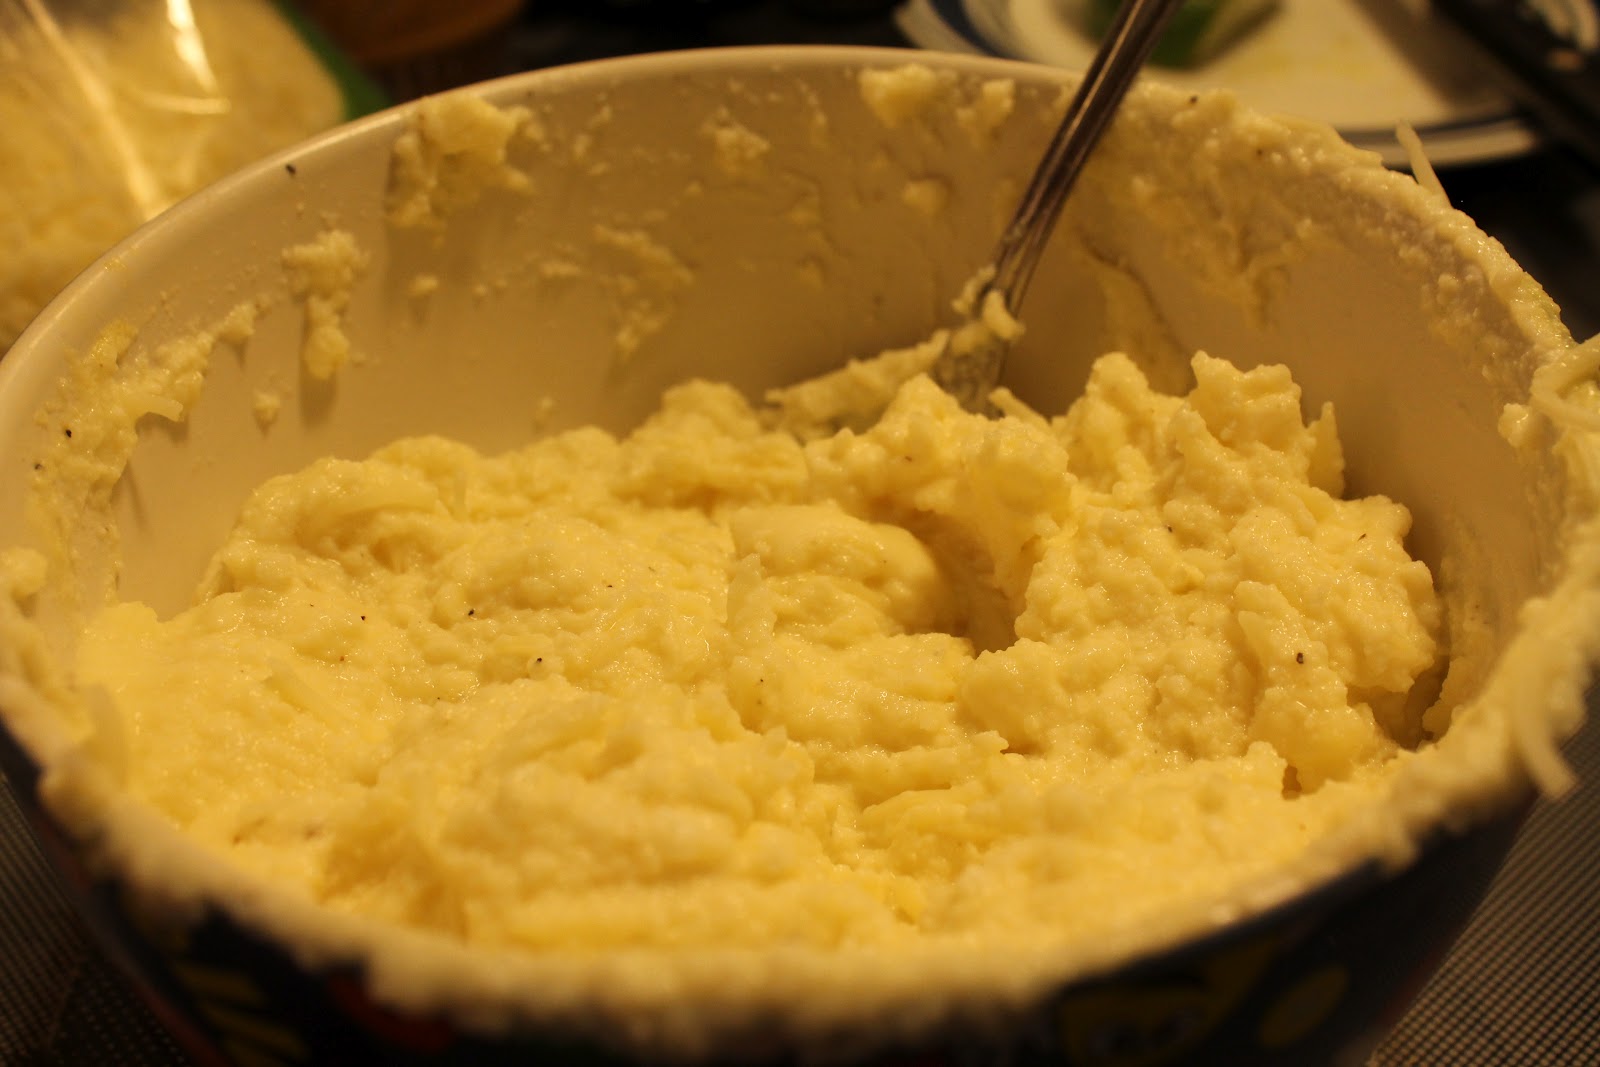
When you're about ready to eat you'll want to make your dumplings.  Mix together 1 cup bisquick and 1/3 cup milk.  Roll the dough into balls roughly the size of a golf ball and drop them into the pot.  Cook them for 10 minutes with the lid on, then 10 minutes with the lid of.  Serve and enjoy.  

I like to serve this in a bowl with a lot of broth, but you can easily pull out the chicken and some of the vegetables and use the broth more as a sauce over the dumplings.  Either way, you'll probably have a lot of broth and vegetables left over.  Don't throw it away!  Keep it and make chicken noodle soup!  You can even freeze it if you're not going to use it right away and pull it out later.  


 Cole described this both as "Thanksgiving in a bowl" and one of the all time greatest things I've ever made him.  So I think it was a success.  

Sunday, September 16, 2012

Date Night Dinners: Mussels in a white wine cream sauce

I love making meals that look really impressive and fancy that are actually super easy (and way less expensive than going to a fancy restaurant for dinner).  Cole and I love seafood, but I wanted to make something different than our usual shrimp, salmon or tilapia for dinner a few weekends ago so I decided that I would splurge and make mussels.  For some reason I thought that mussels would be expensive, I'm not sure why. Little did I know, they are actually one of the cheapest types of seafood you can get.  I got 2 lbs from Walmart in the little frozen seafood section for a little more than $3.  That's a good deal in my book.  So, what I thought was a splurge turned out to be a really inexpensive dinner.  I love it when things like that happen.  

Anyway, the mussels I got were already cooked so I just had to boil them in water (in the little bag they came in) for about 5 minutes to warm them up.  I thought it was weird at first, but they turned out great.  

Mussels in a White Wine Cream Sauce


What you need:
2 lbs mussels (fresh or frozen)
5 shallots diced (or 1/2 a large onion)
4-5 large cloves garlic minced
3-4 tsp thyme
1 1/2 cups white wine (whatever kind you like to drink)
2 cups chicken stock
1/2 cup fat free half and half
Extra virgin olive oil
1 tsp garlic powder
1 tsp cayenne pepper
salt and pepper

What you do:

Saute the minced garlic and shallots in some olive oil in a large pot.  Add the wine and allow it to reduce by half then add the chicken stock, thyme, garlic powder, cayenne pepper, and salt and pepper to taste.  Allow the chicken stock/wine mixture to reduce down, then add the half and half.  Allow everything to simmer together for 10-15 minutes.  At this point, if you have fresh mussels you will add them to the sauce mixture and allow them to cook for 5-7 minutes.  If you're using fresh mussels don't use any that are open before you cook them because that means they are dead..  If they're only slightly open you can tap them against the counter and if they close up they are fine to eat, but if they don't please discard them.  You definitely do NOT want to eat dead mussels.

If you're using frozen mussels like I did, while your sauce is simmering boil the mussels in the bag they came in then transfer them to the sauce and mix everything around in there a little bit.  Whether you're using fresh or frozen mussels do not eat any that aren't open after cooking them.  


I served the mussels over linguini and with homemade french bread (recipe forthcoming, don't worry) and artichokes.  


Artichokes are probably my favorite vegetables.  They are delicious, interactive, and so interesting looking.  I just love, love, love them. 

I was just so pleased with this meal.  I usually am really hard on myself when it comes to judging the food I make, but I was overall very happy with this.  Of course, there are things I will tweak next time I make this, but if it comes out like this every time I make it I will be happy.  

Cole, of course, said he loved it which is not a surprise because he always says that about everything I make (even the time I made a horribly disgusting raspberry white chocolate cheesecake).  He did say that he wished the sauce was a little thicker, which I agree with.  If you use heavy cream instead of half and half that would help thicken up the sauce, but I at least attempt to eat healthy so I think next time I will mix the half and half with a little bit of flour before I add it to the sauce.  That should help thicken it up some without adding more calories and fat.  

Two pounds of mussels was plenty for Cole and I for dinner.  If you were using this as a first course or appetizer you could probably get 4-5 servings out of this amount.  And I guarantee you ladies, if you make this for your boyfriend/husband he will be SO impressed.  It looks like you put a ton of effort into it too, so you can probably negotiate yourself a massage or a trip to Yumilicious Yogurt.  Or both, who knows?


Monday, September 3, 2012

Mini Mondays Gameday Edition: Calzones

In honor of the first Mini Monday of "Football Season" (which really is a season around here) I wanted  to make something that would be perfect to snack on while watching the game.  No forks or knives required.  So I thought about it, and decided calzones (or as Cole calls them: cal-zone-ays) were the winning the idea.  Making them mini is perfect because you can make a bunch different kinds, you don't have to decide on just one kind like you do when you make pizza.

Mini Calzones


What you need:
Pizza dough (click here for a recipe)
Whatever toppings your little heart desires
Small container of ricotta cheese
1/2 cup approx. shredded mozzarella cheese
2 eggs
Marinara sauce

What you do:


Prepare pizza dough.  Preheat oven to 400*.  Chop up whatever toppings you want for you calzones.  I used sausage, bacon, jalapenos, onion, bell pepper, pineapple and ham.  I was so excited for these because I got Hawaiian calzones.  We don't really make Hawaiian pizza because Cole doesn't like it, but this way I got to make my own little mini Hawaiian calzones! 


Mix ricotta cheese, mozzarella cheese and one egg together.  Take a golfball size piece of dough and roll it out pretty thin.  Put a small scoop of the cheese mixture in the middle, then add whatever toppings you want.  Fold the dough over so you have a little half circle shape.  Press the edges closed with a fork and brush eggwash over the top of the calzone.  Bake for 15 minutes, until crust is golden brown.  Serve with marinara sauce for dipping.